Of course there are many ways that you can make hash or concentrates at home with the right materials and gadgets, but if you're not looking to spend a large amount of money to create a hash farm, you may just want to stick to these home methods to make yourself a personal stash!
1. The Easy Pollen Press Method (Hash)
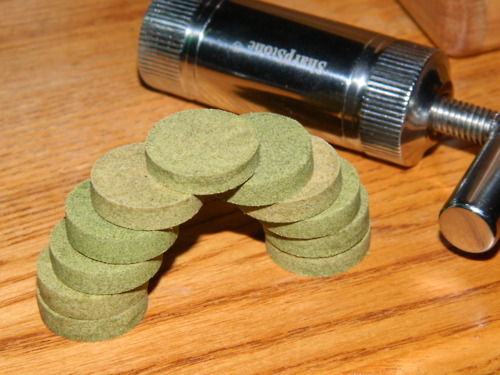
Image Source: Pinterest
This method is my favorite when it comes to getting hash. It doesn't always come out as fine as when using an actual pollen press, but it will still get the job done if you've got a graving for hash whilst in a bind. To create Hash Pucks made out of your keef stash you will only need a few household materials: a couple unsharpened pencils, some paper, tape, and a stash of keef (duh).
The process to build your homemade pollen press actually is quite simple, it's more making sure you're doing it right that may take a little practice. To construct your pollen press you'll first need to take one pencil and tear or cut off a strip of paper to wrap around it. Make sure you get enough paper to wrap around the paper two or three times (the extra wraps will help your pollen press's durability). After you've wrapped the paper around the pencil tightly, tape the paper to itself so it keeps its shape.
At this time, you should be able to slide the rolled paper with a little bit of effort to the end of the paper. Slide it to the point where half of your paper tube is on the pencil and half of it extends into the air. Now, fill some of the negative space within the paper with some of your keef stash. I always recommend starting off with more than you expect, due to the airy nature of keef it might take more than you expect to be able to construct a good-sized hash puck.
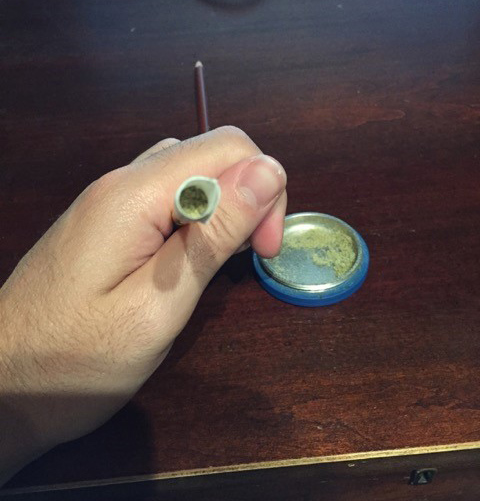
Image Source: DailyDabs420.com
After filling the space in the paper, tap the pencil a few times to level the keef inside the press and press your extra pencil into the negative space in the paper roll. At this time you should have two pencils pressing your keef together within your paper roll.
Now, you will press your pencils together to generate the pressure needed to create a hash puck. About 10-20 seconds of continuous pressure will likely provide you with a strong enough hash puck to get the job done, just remember that how long you maintain pressure and how much you apply will affect how your hash puck will turn out, so don't be afraid to experiment!
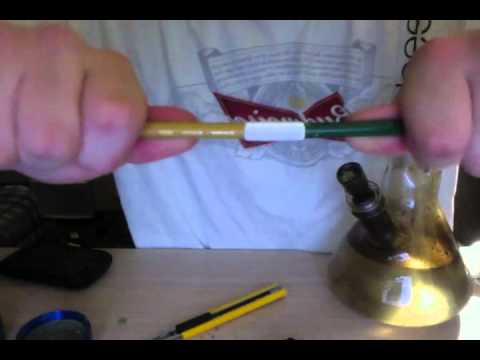
Image Source: YouTube
2. The Rosintech Method (Dabs)
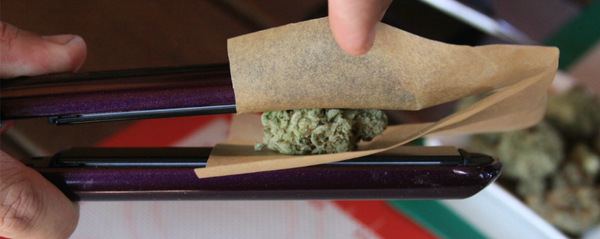
Image Source: Twitter
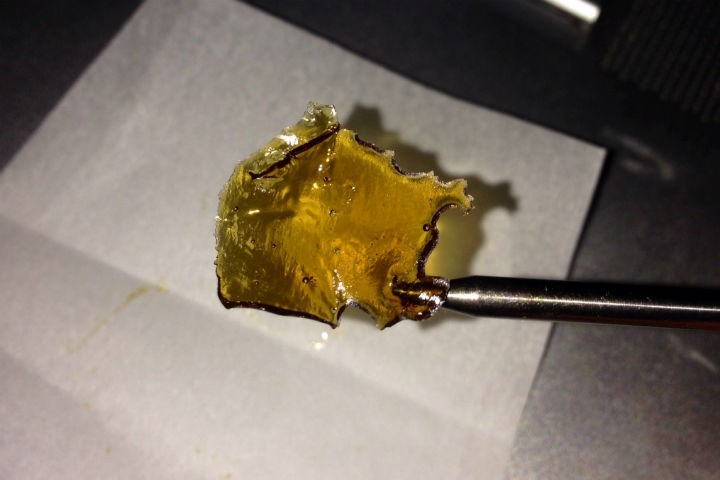
If you're someone who is looking to break out the nail, but can't seem to find any dabbable concentrates on the market, this is a way for you to extract dabbable concentrate straight from your buds, however requires a bit more finesse than the previous method.
To make your own dabs easily, you'll need: non-ground nugs, a hair straightener, and parchment paper. The process to make dabs from these materials is actually fairly straightforward, you simply place your bud, or keef, onto a piece of parchment paper, top it with another piece, and compress the bud between the hot pads on the hair straightener. It shouldn't take much heat to get this going, and it will result in a dabbable golden-brown sap on the parchment paper.
One thing you'll need to keep constant tabs on for this method is the temperature of the bud and heat-pads. Although most hair straighteners probably don't say what temperature they heat at, most cannabinoids activate at and above around 250 degrees Fahrenheit, so you definitely don't want to torch your bud on the high setting, as you might end up burning the bud or vaporizing the dabs. I'd recommend you start cool, practice, and work your way up to the perfect temperature to get as much dabbable material as possible.
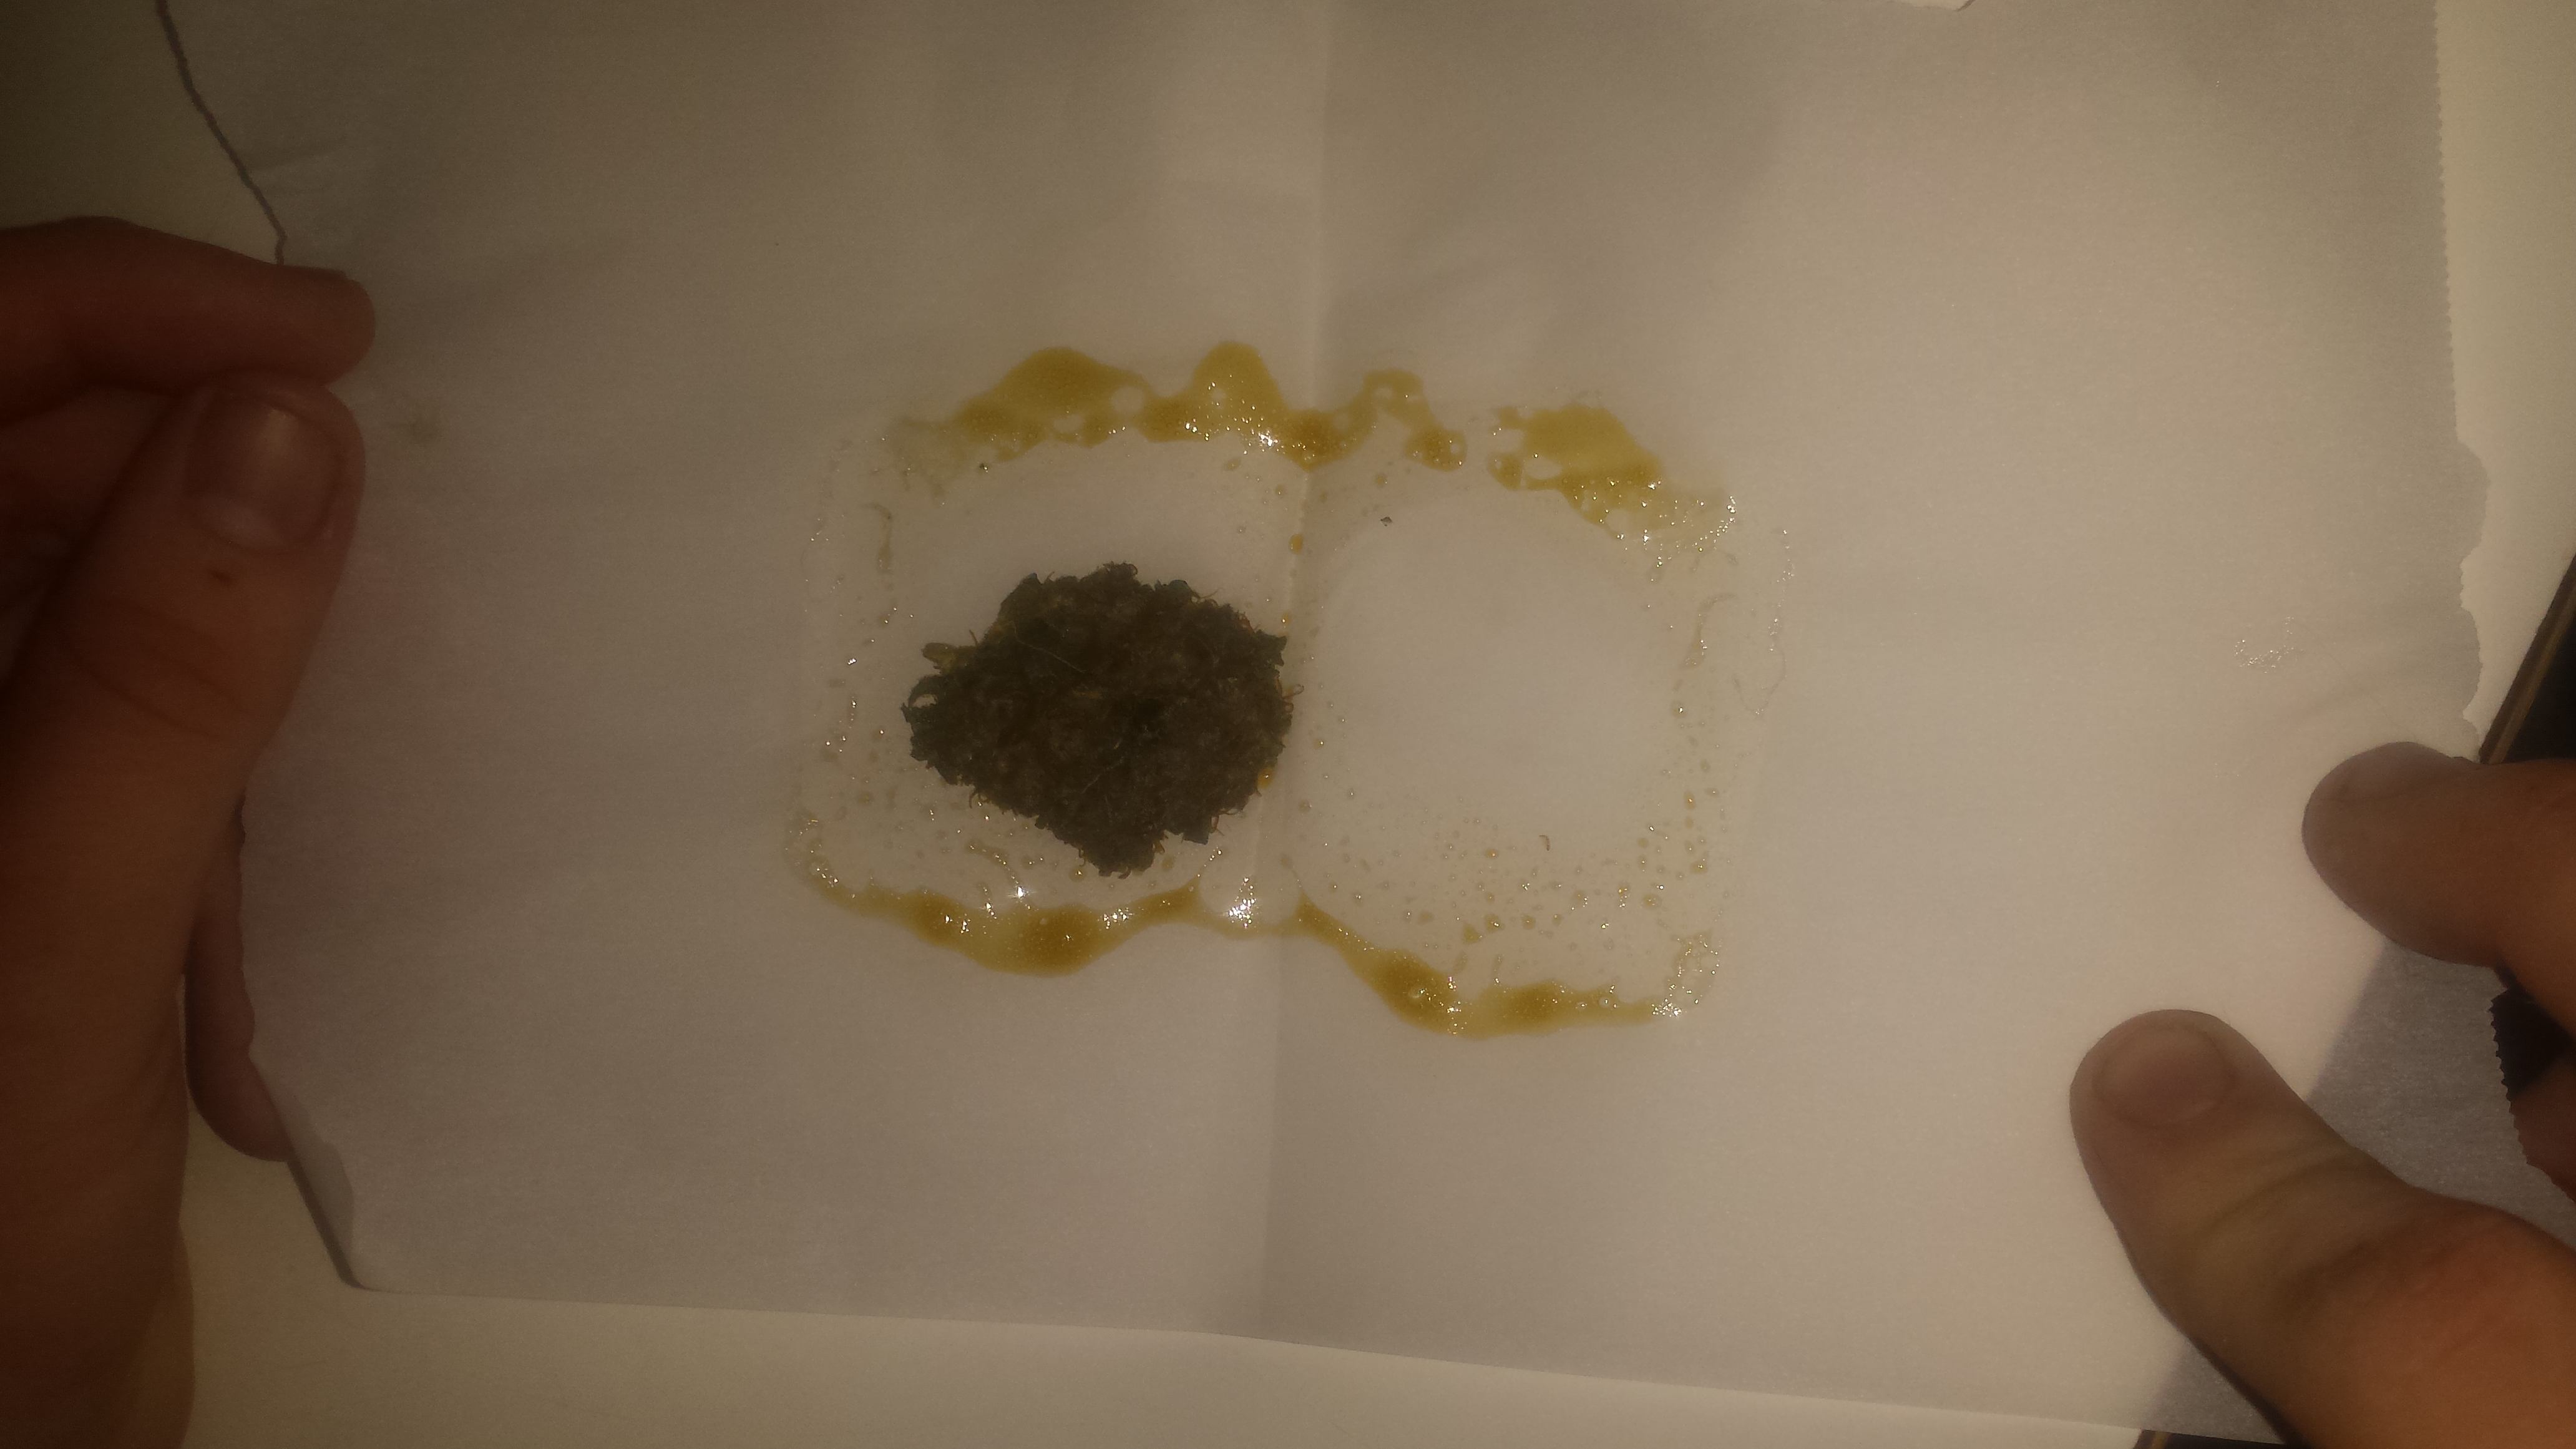
Image Source: Voat.co
While this method is pretty much as simple as the method to make keef pucks, this one is a bit more dangerous, as it involves high heat and pressure, so make sure you practice safe baking!
Featured Image Source: Imgur
---
Making dabs and hash at home can be difficult to get right, and a bit of a hassle, but it's still totally worth it! What do you think? Share your thoughts in the comments.